
Table of Contents
Running Ethernet Cable Between Floors:
Running Ethernet Cable Between Floors
Running Ethernet cable between floors is a crucial step in establishing a reliable and high-speed network connection in multi-story buildings. Whether you’re a homeowner looking to expand your home network or a business owner aiming to connect different departments, understanding the process of running Ethernet cable between floors is essential. In this article, we will guide you through the steps involved in this process, highlighting the importance of using 4pair cable with messenger outdoor LAN cable from a trusted China factory.
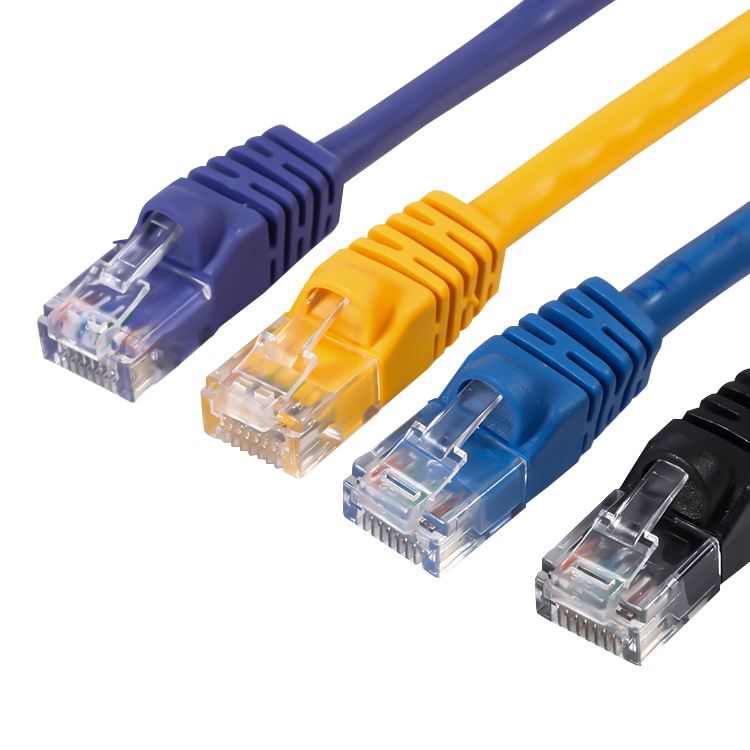
Before we delve into the details, let’s first understand what Ethernet cable is and its importance in establishing network connections. Ethernet cable is a type of communication cable that is specifically designed for transmitting data signals over a network. It is widely used in both residential and commercial settings to connect devices such as computers, printers, routers, and Switches.
| No. | Products |
| 1 | patch cord wiring |
When it comes to running Ethernet cable between floors, it is essential to choose the right type of cable that can withstand the challenges posed by outdoor environments. This is where 4pair cable with messenger outdoor LAN cable from a reputable China factory comes into play. This high-quality communication cable is specifically designed to resist moisture, UV radiation, and other external factors that can degrade the performance of the cable.
| No. | Article Name |
| 1 | outdoor network cable |
Now, let’s move on to the process of running Ethernet cable between floors. The first step is to plan the cable route. You need to determine the most efficient path for the cable, taking into consideration factors such as existing infrastructure, obstructions, and the desired locations for the cable termination points. It is also crucial to ensure compliance with building codes and regulations during this planning phase.
Once the cable route is established, the next step is to prepare the cable for installation. This involves carefully measuring and cutting the required length of 4pair cable with messenger outdoor LAN cable. It is essential to leave some extra slack to accommodate any future modifications or repairs. After preparing the cable, it’s time to install it.
To install the cable, you will need to drill holes in the walls or floors to create a pathway for the cable. It is important to use appropriate tools and techniques to ensure a clean and professional installation. Once the holes are drilled, the cable can be threaded through them, ensuring that it is securely fastened along the way using Cable Clips or other suitable methods.
After the cable is installed, it is essential to test the connection to ensure its proper functionality. This involves connecting the cable to the desired termination points, such as network switches or wall sockets, and verifying that data can be successfully transmitted and received. Testing the connection guarantees that the installed Ethernet cable is fully functional and capable of delivering the desired network performance