
Inhoudsopgave
Voordelen van het gebruik van de nieuwe originele DS-2CD2547G2-LS 4MP ColorVu originele vaste mini-domenetwerkcamera
Hoe u de nieuwe originele DS-2CD2547G2-LS 4MP ColorVu originele vaste mini-domenetwerkcamera installeert en installeert
De DS-2CD2547G2-LS-camera biedt ook meertalige ondersteuning, waardoor deze gemakkelijk te gebruiken is voor gebruikers over de hele wereld. Selecteer eenvoudig uw voorkeurstaal in het instellingenmenu van de camera om de interface aan uw behoeften aan te passen.
Samenvattend is de nieuwe originele DS-2CD2547G2-LS 4MP ColorVu originele vaste Mini Dome-netwerkcamera een veelzijdige en gebruiksvriendelijke camera dat klaar is voor verzending en meertalige ondersteuning biedt. Het instellen en installeren van deze camera is een eenvoudig proces dat kan worden uitgevoerd door een paar basisstappen te volgen. Met zijn hoogwaardige afbeeldingen en video’s, dag- en nachtmogelijkheden en aanpasbare instellingen is deze camera een uitstekende keuze voor iedereen die zijn beveiligingssysteem wil verbeteren.
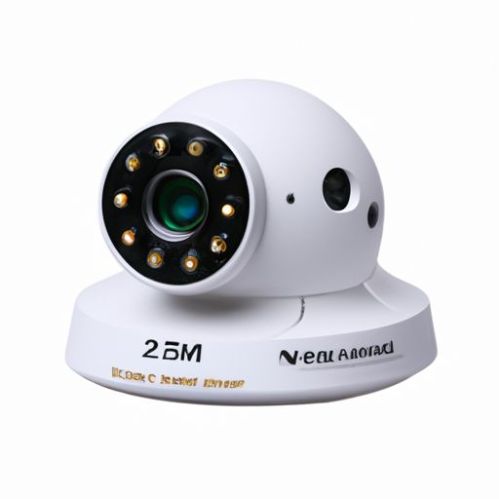
How to Set Up and Install the New Original DS-2CD2547G2-LS 4MP ColorVu Ship Original Fixed Mini Dome Network Camera
The new Original DS-2CD2547G2-LS 4MP ColorVu ship original Fixed Mini Dome Network Camera is a cutting-edge piece of technology that is ready to ship and offers multi-language support. This camera is designed to provide high-quality images and videos in both day and night conditions, thanks to its ColorVu technology. Setting up and installing this camera is a straightforward process that can be done by following a few simple steps.
To begin the setup process, start by unpacking the camera and all of its components. Make sure that you have everything you need, including the camera itself, mounting Hardware, and any necessary cables. Once you have everything laid out, you can begin the installation process.
The first step in setting up the DS-2CD2547G2-LS camera is to choose a suitable location for mounting. The camera should be placed in an area where it has a clear view of the area you want to monitor. Once you have selected a location, use the mounting hardware to securely attach the camera to the wall or ceiling.
Next, you will need to connect the camera to a power source. The DS-2CD2547G2-LS camera can be powered using either a PoE (Power over Ethernet) connection or a traditional power adapter. Choose the method that works best for your setup and connect the camera accordingly.
Once the camera is powered on, you will need to configure it to connect to your network. This can be done using the camera’s web interface, which can be accessed using a web browser on a computer or mobile device. Simply enter the camera’s IP address into your browser’s address bar to access the interface.
From the web interface, you can configure the camera’s settings, such as adjusting the image quality, setting up motion detection, and configuring recording schedules. You can also set up remote access to the camera, allowing you to view live footage from anywhere with an internet connection.
The DS-2CD2547G2-LS camera also offers multi-language support, making it easy to use for users around the world. Simply select your preferred language from the camera’s settings menu to customize the interface to your needs.
In conclusion, the new Original DS-2CD2547G2-LS 4MP ColorVu ship original Fixed Mini Dome Network Camera is a versatile and easy-to-use camera that is ready to ship and offers multi-language support. Setting up and installing this camera is a simple process that can be done by following a few basic steps. With its high-quality images and videos, day and night capabilities, and customizable settings, this camera is a great choice for anyone looking to enhance their Security system.