
Table of Contents
How to Achieve a Milky Gel Polish Soak Off Manicure with Cat Eye Effect
Achieving a flawless manicure at home can seem like a daunting task, especially when it comes to gel polish soak off manicures with intricate designs like the cat eye effect. However, with the right tools and techniques, you can easily create a stunning milky gel polish soak off manicure with a mesmerizing cat eye effect. In this article, we will guide you through the step-by-step process of achieving this look using high-quality products and manicure tools.
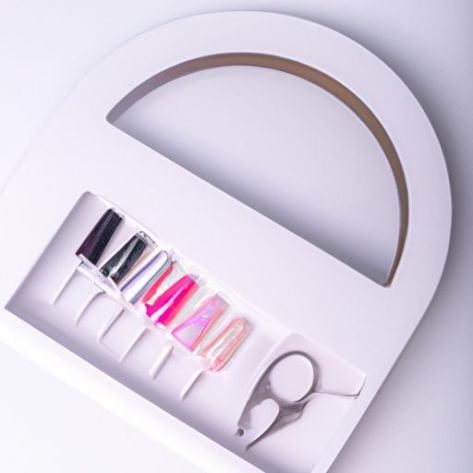
To start off, you will need to gather all the necessary supplies for your manicure. This includes a gel polish soak off magnetic milky base color, a cat eye UV Gel in a contrasting color, manicure tools such as a Nail File, cuticle pusher, and Nail Brush, as well as a UV or LED lamp for curing the gel polish. Additionally, you may want to have some glitter or reflective gloss on hand to add some extra sparkle to your manicure.
Begin by prepping your Nails for the gel polish application. Use a nail file to shape your nails and gently push back your cuticles with a cuticle pusher. Once your nails are clean and dry, apply a thin layer of base coat to each nail and cure it under the UV or LED lamp according to the manufacturer’s instructions.
Next, apply a thin layer of the gel polish soak off magnetic milky base color to each nail and cure it under the lamp. This will serve as the base for the cat eye effect. Once the base color is cured, apply a second coat of the base color to each nail and do not cure it yet.
Now, it’s time to create the cat eye effect. Take the cat eye UV gel in a contrasting color and apply a small amount to each nail. Using a cat eye magnet, hold it over the wet gel polish at a slight angle for a few seconds to create the desired cat eye effect. Once you are happy with the design, cure the cat eye gel under the lamp.
To add some extra dimension to your manicure, you can sprinkle some glitter or apply a reflective gloss over the cat eye gel before curing it. This will give your nails a high Pigment, shiny finish that is sure to turn heads.
Finally, seal in your manicure with a top coat to protect the design and add extra shine. Cure the top coat under the lamp and then use a nail brush dipped in rubbing alcohol to remove any sticky residue left on the nails.
With these simple steps and the right products, you can achieve a stunning milky gel polish soak off manicure with a captivating cat eye effect. Experiment with different colors and designs to create your own unique look that will leave you feeling confident and stylish. So why not give it a try and elevate your manicure game with this eye-catching nail design?
The Ultimate Guide to Creating Reflective Glossy Nails with Glitter and High Pigment UV Gel
Creating reflective glossy nails with glitter and high pigment UV gel is a popular trend in the world of nail art. This technique allows you to achieve a stunning, eye-catching look that is sure to turn heads. In this ultimate guide, we will walk you through the steps to achieve this look using gel polish soak off magnetic milky with manicure tools in 10 colors of cat eye UV gel.
To begin, you will need to gather all of the necessary supplies. This includes gel polish soak off magnetic milky, manicure tools, glitter, reflective gloss, high pigment UV gel, and a clear cat eye Nail Polish. Make sure to choose colors that complement each other and will create a cohesive look.
Start by prepping your nails. Remove any old polish and shape your nails to your desired length and shape. Push back your cuticles and gently buff the surface of your nails to create a smooth canvas for the gel polish.
Next, apply a base coat of the gel polish soak off magnetic milky to your nails. This will help the gel polish adhere to your nails and create a long-lasting finish. Allow the base coat to dry completely before moving on to the next step.
Now it’s time to add some sparkle to your nails. Take your glitter and apply it to the tips of your nails, creating a gradient effect. You can use a small brush or your fingers to gently press the glitter into place. Be sure to seal the glitter with a top coat to prevent it from rubbing off.
Once the glitter has dried, it’s time to add the high pigment UV gel. Choose a color that will complement the glitter and apply it to your nails in thin, even layers. Use a UV Lamp to cure each layer of gel for the recommended amount of time.
After the high pigment UV gel has cured, it’s time to create the cat eye effect. Take your cat eye UV gel and apply it to your nails using a magnet to create a mesmerizing cat eye effect. Hold the magnet over the wet gel for a few seconds to create the desired effect.
To finish off your reflective glossy nails, apply a coat of clear cat eye nail polish. This will help seal in the design and add a glossy finish to your nails. Allow the polish to dry completely before applying a final layer of reflective gloss for added shine.
In conclusion, creating reflective glossy nails with glitter and high pigment UV gel is a fun and creative way to express yourself through nail art. By following these steps and using the right tools and products, you can achieve a stunning and eye-catching look that is sure to impress. Experiment with different colors and techniques to create your own unique nail designs.